Nothing deflates a luxury camping trip faster than arriving at a remote site that looks nothing like the photos, with a cold tent, a shared toilet down a muddy path and no shop within an hour’s drive. It happens to first-timers all the time, usually because they book on looks alone. Learning how to choose a glamping site before you pay a deposit is what separates a magical night under canvas from an expensive disappointment.
This guide walks you through the whole decision in a sensible order: the different stay types, from safari tents to treehouses; picking the right season and weather window; choosing a location that suits your car and your plans; setting a realistic budget; checking facilities before you book; and timing your reservation while reading reviews like a pro. Work through each step and your first glamping trip should feel luxurious, not lucky.
What Glamping Actually Includes: Stay Types Explained
Glamping is not one product but a whole spectrum of structures, and the type you pick shapes almost everything else: comfort, price and how “camping” the experience actually feels. Before comparing individual sites, it helps to understand what each stay type typically delivers and where the trade-offs lie.
The four most common options sit at clearly different levels of the market. Safari tents and domes usually offer the classic luxury-camping experience with real furniture and heating, while yurts and bell tents trade some comfort for a lower price. Treehouses and cabins behave more like small hotel rooms perched in nature. Here is what each type generally includes:
- Safari tents: large canvas structures on fixed frames, usually with real beds, a wood stove and a private deck, often with outdoor furniture for morning coffee.
- Geodesic domes: curved structures with panoramic windows, and their shape gives them better insulation, which matters on cooler nights when canvas tents lose heat quickly.
- Yurts and bell tents: the budget-friendly entry points, but they frequently rely on shared bathroom blocks rather than private en-suite facilities, so check this carefully.
- Treehouses and cabins: the premium end of the price range, typically with full plumbing, proper kitchens and solid walls, closer to a boutique hotel stay than camping.
A useful rule of thumb: the closer the structure is to a permanent building, the more you will pay and the less “tenty” it feels. If you want the sensation of sleeping under canvas but with real bedding and warmth, a safari tent or dome hits the sweet spot. If you simply want a cheaper taste of the outdoors, a bell tent can work well as long as you accept shared facilities.
Picking the Right Season and Weather Window
Timing matters more in glamping than in a regular hotel stay, because canvas structures are far more sensitive to weather. Most temperate regions see peak season run from May to September, which brings the warmest, most reliable conditions but also the highest rates and the busiest sites. If you want long evenings by the fire and warm days for swimming or hiking, that window delivers.
The shoulder-season sweet spot
For better value, look at late September through October. During this shoulder season, many operators cut rates by 20-40%, and you will share the site with far fewer people. The trade-off is cooler evenings and a higher chance of rain, so pack layers and check what heating the tent offers before booking.
Two weather checks before you commit
First, look at typical night temperatures, not just daytime highs. Canvas cools fast after sunset, and even a warm summer day can turn into a chilly night in a thin bell tent, so confirm whether the tent has a wood stove, heater or good insulation. Second, be cautious about early spring at mountain sites, where frost can persist until May and turn a scenic booking into a cold, damp one. When in doubt, ask the host directly what the nights are like in the month you plan to visit.
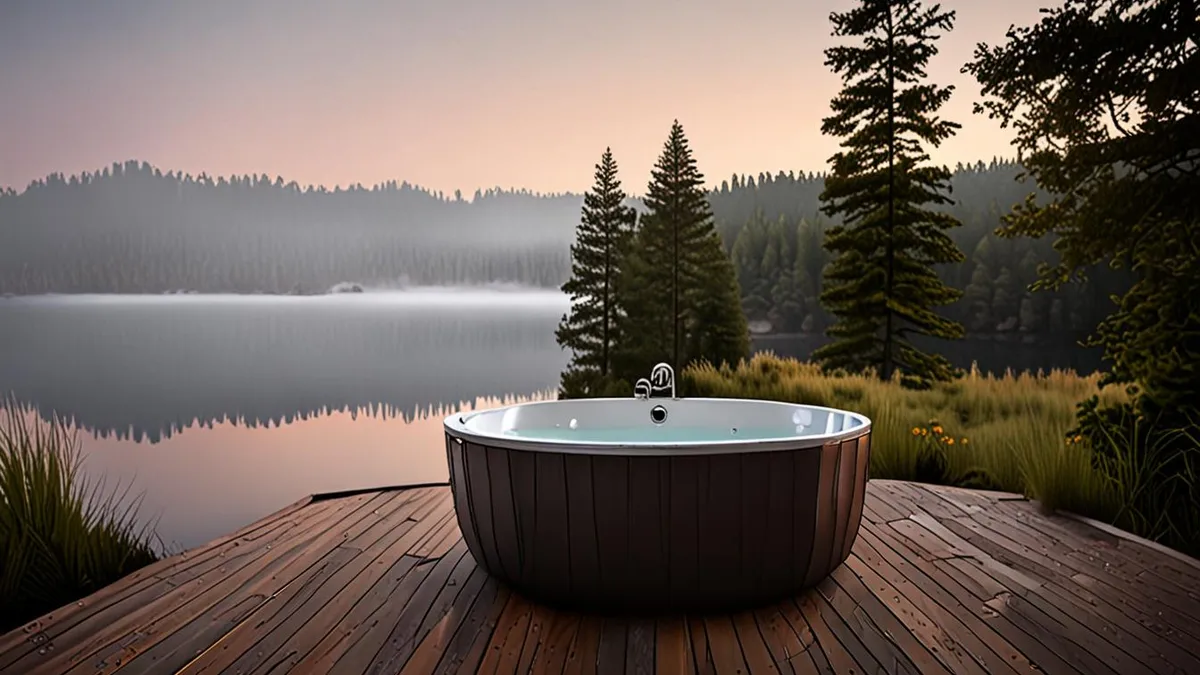
How to Choose a Glamping Site Location That Suits You
Location is where first-timers most often overreach. A site three hours down a gravel road sounds romantic until you arrive with no supplies, a hungry family and a car unsuited to the track. For your first trip, choose a glamping site within 1-2 hours’ drive of towns and supplies, so a forgotten sleeping bag or a rainy-day plan change stays a minor inconvenience instead of a trip-ruiner.
Also think honestly about the road, not just the destination. Lakeside and forest sites offer the best scenery, but some sit at the end of unpaved tracks that a low city car will hate. Check whether the final stretch is gravel, how steep it is and whether a regular sedan can manage it, and ask the host if you are unsure.
Finally, match the setting to what you actually plan to do. The right environment depends on your trip style:
- Hiking-focused trips: look for sites that sit at or near trailheads, so you can start walking from your tent instead of driving to a trailhead parking lot each morning.
- Water sports: lakeside sites let you swim, paddle or fish steps from your deck, but confirm whether equipment rental or launch access is actually available on-site or nearby.
- Wine regions: vineyard-area sites pair short drives to tastings with scenic rows of vines, though you should plan a designated driver or book tours if you intend to sample.
- Stargazing: remote sites deliver the darkest skies, but weigh that against longer drives to restaurants and shops, especially if you would rather not cook every night.
Balance matters: a slightly less dramatic setting with easy access often beats a spectacular one that leaves you exhausted by the drive.
Setting a Realistic Budget for Your First Glamping Trip
Glamping prices vary more than most first-timers expect, so it helps to know the typical ranges before you fall in love with a listing. Entry-level tents, usually bell tents or simple safari-style setups, typically cost $100-200 per night. These are a great way to test whether glamping suits you without committing serious money.
At the other end of the scale, premium domes and safari tents range from $250-600 per night. At these prices you can generally expect private bathrooms, proper heating, well-designed interiors and a standout view. If a listing charges premium rates but still offers a shared bathroom half a field away, treat that as a red flag and compare other options in the same area.
Don’t forget the extras
The nightly rate is rarely the whole story. Firewood, breakfast add-ons and activity fees can add $50-100 per day to your total, and some sites charge separately for parking, hot tub use or pet fees. Before booking, read the listing carefully and add up what your actual stay will cost, not just the headline price. A $150 tent with everything included can be better value than a $250 tent where every extra is metered.
One of the easiest ways to get more for your money is timing. Shoulder-season dates, especially late September through October, often come with lower rates than peak weekends. That means the same budget that buys an entry-level tent in July can stretch into a higher-tier dome or safari tent with better facilities. If your dates are flexible, shifting your trip by a few weeks is usually the single biggest saving available to a first-time glamper.
Checking Facilities Before You Book
Photos make every glamping site look idyllic, but the real comfort of your stay comes down to the facilities. The difference between a magical night and a miserable one is often as simple as whether the bathroom is a two-minute walk or a ten-minute slog through wet grass. Before you book, dig into the details that listings sometimes bury.
The first question to ask is about the bathroom: is it private, en-suite or shared with other tents? En-suite means maximum comfort, private facilities elsewhere on site are a good middle ground, and shared blocks are common at entry-level sites. None of these is wrong, but you should know which one you’re paying for.
Heating and cooling matter more than most people expect. Canvas structures cool down fast at night even in summer, so a wood stove can make or break a spring or fall trip. In hot weather, ask whether tents have fans or air conditioning, since canvas can turn into an oven by mid-afternoon.
- Kitchen setup: setups range from a full private kitchen to shared campfire cooking only, so check whether you’ll need to bring a cooler, cooking gear and food storage containers.
- Wi-Fi and cell signal: some sites advertise Wi-Fi that only reaches the main lodge, so if you need to work or stream, ask whether it’s reliable inside your tent.
- Lighting: ask whether paths and tents have real electric lighting or just lanterns, since finding a shared bathroom in the dark is a very different experience with each.
- Hot water: confirm whether showers have proper hot water on demand or whether supply is limited to certain hours, which matters if you’re traveling with a group.
A good rule of thumb: if a listing shows beautiful photos but stays vague on any of these points, message the host and ask directly. Hosts who answer clearly and quickly usually run well-organized sites.
Booking Timing and Reading Reviews Like a Pro
Glamping sites are small operations, and that changes how you should book them. A property might have only a handful of tents, which means the best units sell out long before a comparable hotel room would. Unlike hotels, there is rarely another room down the hall to fall back on if your first choice is gone. Getting the stay you want is mostly about timing your booking well and doing a little detective work before you pay, and the five habits below cover both.
- Book 3-6 months ahead for summer weekends. Popular sites with limited availability fill their peak-season weekends early, so if you have your heart set on a specific July or August Saturday, reserve well in advance rather than hoping for a late deal. The most photogenic units, the ones that appear in every listing photo, tend to disappear first.
- Book 6-12 months ahead for holiday periods. Long weekends and holiday weeks are the most competitive dates of the year, and the most scenic units go first, so plan these trips almost like you would a major event. Put a reminder on your calendar for the day bookings open.
- Read recent reviews carefully. Look for mentions of noise from roads or neighboring tents, insect problems, drainage issues after rain, and how responsive the host was when something went wrong. Recent reviews tell you far more about current conditions than older glowing ones, since ownership and upkeep can change quickly at small properties.
- Study the cancellation policy. Peak-season rates are often non-refundable or only partially refundable, so know exactly what happens if weather or plans force a change before you commit that money. If the policy is strict, consider whether travel insurance makes sense for the dates you have in mind.
- Message the host directly. Ask about access roads, whether a low-clearance car can handle them, and exactly what’s provided versus what you should bring. The quality of the answer usually tells you a lot about the operation.
A short exchange with a host before booking is one of the most underrated steps in the whole process, and it costs you nothing but a few minutes. Hosts who reply promptly and thoroughly tend to run sites that match their listings, while vague or slow responses are worth taking seriously as a warning sign. Combine that with well-timed booking and a careful read of recent reviews, and you’ll head into your first night under canvas knowing exactly what to expect rather than crossing your fingers.
Your First Glamping Trip, Sorted
The problem most first-timers face is simple: a tent that photographs beautifully can still sit down a rough road, an hour from the nearest shop, with a shared bathroom and no heating. The fix is to work through your choices in order. Pick a stay type, then a season, then a location, then a budget, then check the facilities, and finally lock in your booking window. Each step filters out the sites that look good but won’t suit you.
Keep the key figures in mind as you search: the peak season runs May to September, nightly rates typically fall somewhere between $100 and $600 depending on the tent, and summer weekends need 3-6 months of lead time. Work through these checks and your first glamping night should feel luxurious, not lucky. If this guide helped you plan your trip, leave a comment or share it with a friend who’s tempted to try glamping too.